MacBooks don’t come with a traditional ringer like smartphones, but they do have system alert sounds—chimes, notifications, message alerts, FaceTime rings, and more. Whether you’re working in a library, attending a virtual meeting, or just need peace and quiet, knowing how to turn the ringer off on your MacBook can save you from embarrassing or distracting interruptions.
This guide walks you through all the available methods to mute or disable alert sounds on your MacBook, helping you regain focus in any environment.
Understanding What “Ringer” Means on MacBooks
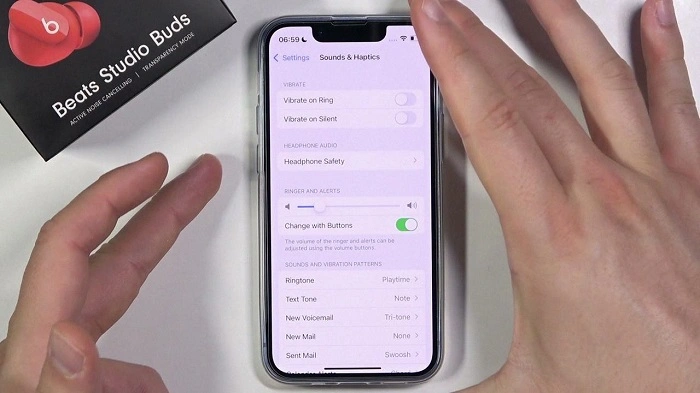
Unlike iPhones, MacBooks do not have a separate ringer switch. However, alerts like incoming FaceTime calls, Messages pings, Mail notifications, and calendar reminders can all make sound. These are the sounds users commonly refer to as the “ringer.”
So, turning off the “ringer” on a MacBook usually means silencing all system and app alerts.
Method 1: Mute Using the Volume Keys

Use the Keyboard
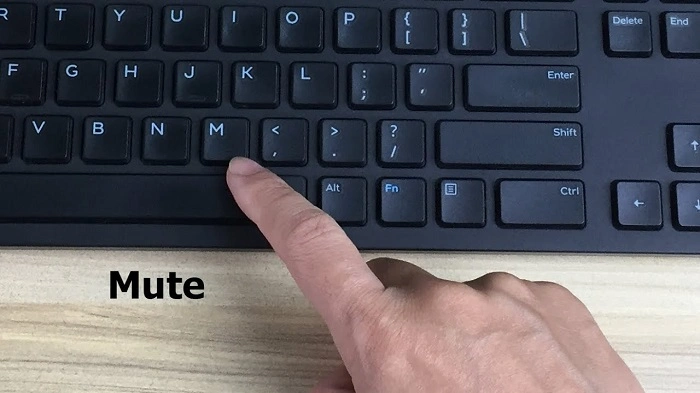
Most MacBooks include a dedicated mute key (usually F10 or a speaker icon key). Simply press this to mute all sounds instantly. This is the fastest way to silence your Mac without changing settings.
Adjust Volume Down
Press the volume down button (F11) repeatedly until the volume icon shows it is muted. You can still play media if you manually raise the volume again.
Method 2: Turn Off Notification Sounds from System Settings
System Settings for macOS Ventura and Later
- Click the Apple menu in the top-left corner
- Go to System Settings
- Select “Sound”
- Reduce the output volume to zero or check the “Mute” box
- Alternatively, go to “Notifications” and turn off sound for individual apps like Messages or Mail
For macOS Monterey and Earlier
- Open System Preferences
- Click on Sound
- Under “Sound Effects,” uncheck “Play user interface sound effects”
- Uncheck “Play feedback when volume is changed”
- Reduce alert volume to 0%
These steps prevent your Mac from playing sounds when receiving system notifications, completing actions, or changing settings.
Method 3: Mute Individual App Notifications
Customize Notifications Per App
If you only want to turn off ringer sounds for specific apps like Messages or FaceTime:
- Open System Settings
- Click “Notifications”
- Select the app (e.g., Messages)
- Turn off “Play sound for notifications”
This lets you keep audio on for other apps while silencing the noisy ones.
Method 4: Enable Do Not Disturb Mode
Quick Method via Control Center
- Click the Control Center icon in the menu bar
- Select “Focus”
- Choose “Do Not Disturb”
This will silence all notifications and their sounds temporarily or on a schedule, depending on your preferences.
Schedule Silent Hours
To automatically silence your Mac during meetings, work sessions, or sleep:
- Go to System Settings
- Click “Focus”
- Choose “Do Not Disturb”
- Set a schedule for when you want silence
This is great for students, remote workers, or anyone managing a digital routine.
Method 5: Lower Alerts but Keep Media Volume
Adjusting System Alert Sounds Separately
MacBooks allow you to reduce or mute alert volume while still keeping music or video audio.
- Open System Settings
- Go to Sound
- Look for the slider labeled “Alert Volume”
- Reduce it to zero
- Leave the Output Volume at a desired level for media playback
This ensures you won’t hear rings or alerts, but can still watch YouTube or listen to music.
Method 6: Mute FaceTime Calls
FaceTime calls can be disruptive, especially during meetings or classes.
To silence FaceTime rings:
- Open FaceTime
- Go to Preferences
- Uncheck “Calls from iPhone”
- Or go to Notifications > FaceTime and disable sounds from there
This prevents FaceTime from ringing when someone calls your number or iPhone.
When You Might Want to Turn the Ringer Back On

While silence is golden, you might occasionally want to receive sound alerts:
- When waiting for urgent messages
- During casual FaceTime sessions
- To use sound reminders for calendar events
- When listening to music or editing audio
Just remember to unmute from Control Center, System Settings, or the volume keys when needed.
Ideal Use Cases for MacBook Ringer Silence
- Attending a class or webinar
- Studying in libraries or quiet spaces
- During client presentations or live Zoom calls
- When recording audio or podcasts
- Late-night sessions where silence is required
MacBooks give users a wide array of options to stay in control of their sound environment, unlike many other laptops with limited mute functionality.
FAQs About How to Turn Ringer Off on MacBook
How do I completely mute my MacBook?
Press the mute key on your keyboard or reduce volume to zero in the Sound settings. You can also enable Do Not Disturb to silence all notifications.
Is there a physical ringer switch on MacBooks?
No. MacBooks do not have a physical ringer switch like iPhones. All sound settings must be adjusted through the keyboard or System Settings.
Can I mute only notification sounds without muting music or videos?
Yes. In System Settings under Sound, you can lower or mute only the alert volume while keeping media audio unchanged.
How do I stop FaceTime from ringing on my MacBook?
Go to FaceTime preferences and uncheck “Calls from iPhone.” You can also mute FaceTime notifications under System Settings > Notifications.
What’s the best way to silence my Mac during meetings or classes?
Use Do Not Disturb mode via Control Center or schedule it in System Settings > Focus. This will silence all system and app notifications.

