
Are you looking for a quick solution on how to authorize MacBook for Apple TV? If that’s your today’s quest, you have come to the right guide!
As we all know, Apple gives the utmost prioritization to its customer’s privacy and security. Authorization is a security layer added by Apple to secure their customer’s accounts from unauthorized purchases.
Whenever you log in to a new Apple device with your Apple ID or iTunes account, the streaming apps having a connection to your account do not get authorized automatically. You have to authorize each app separately. In this step-by-step guide, we will be discussing how to authorize a MacBook for Apple TV.
So, How To Authorize MacBook Pro For Apple TV?
First of all, make sure your Apple ID is logged in on your MacBook. The first step is to launch Apple TV. You can do this by going to the launchpad and clicking on the Apple TV app.
Once you open the Apple TV app, click on “Account,” then click on “Authorization,” and select “Authorize this computer.” A new screen will open up, asking you to log in with your Apple ID.
Enter your Apple ID credentials and click on “Authorize.” Your computer is now Authorized to use Apple TV.
Step By Step Guide To Authorize MacBook For Apple TV
If you are someone who loves to binge-watch shows on Apple TV, then authorizing your MacBook can be the most important thing.
Because you won’t be able to rent any movies or purchase content from the iTunes Store, make sure you do not skip any step for a smooth and uninterrupted streaming experience.
Step 1: Open The Apple TV App
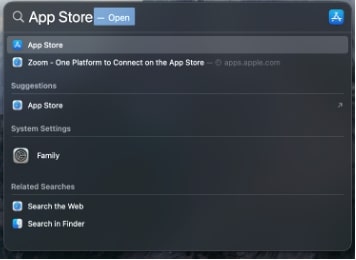
By default, the Apple TV app is installed on every MacBook. You can access it by going to the launch pad. If you are unable to find Apple TV in the launch pad, you can open it through the spotlight search bar.
Press the “Command” and “Space Bar” keys simultaneously. A search bar will open. Type “Apple TV” and hit enter.
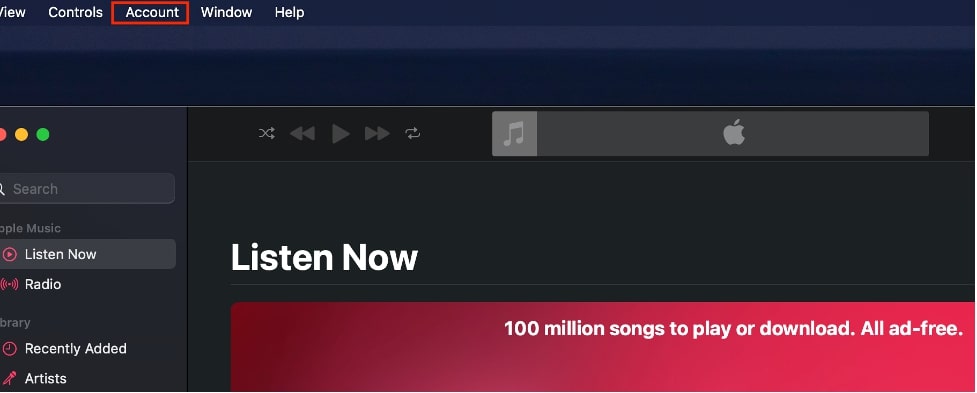
Step 2: Click On Account From The Toolbar
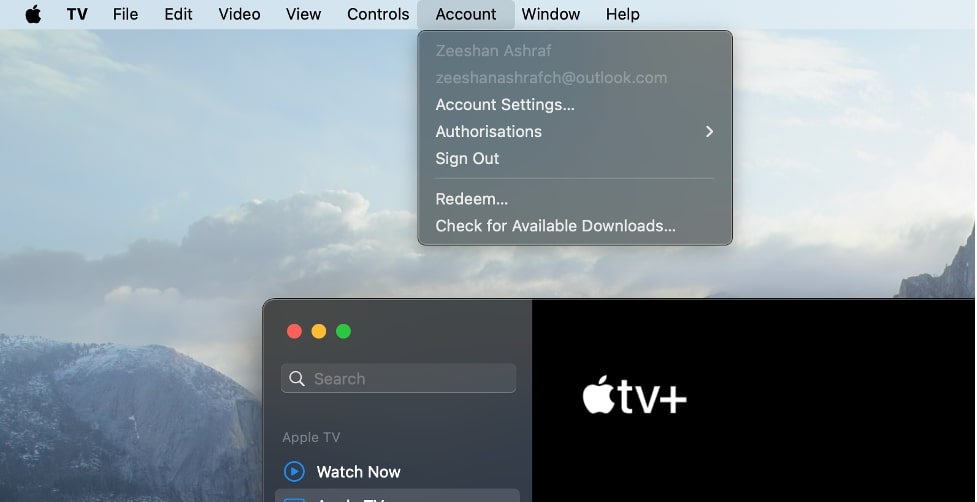
If you are opening the Apple TV app for the first time, multiple pop-ups will appear. Close all the pop-ups and locate “Account.” It is located at the top menu bar next to “Controls.”
Once you locate “Accounts,” Click on it, and a drop-down menu will appear.
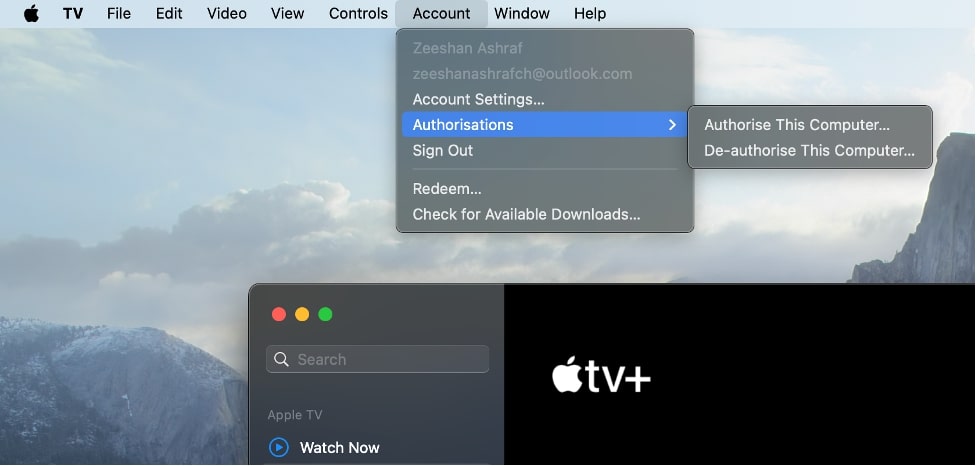
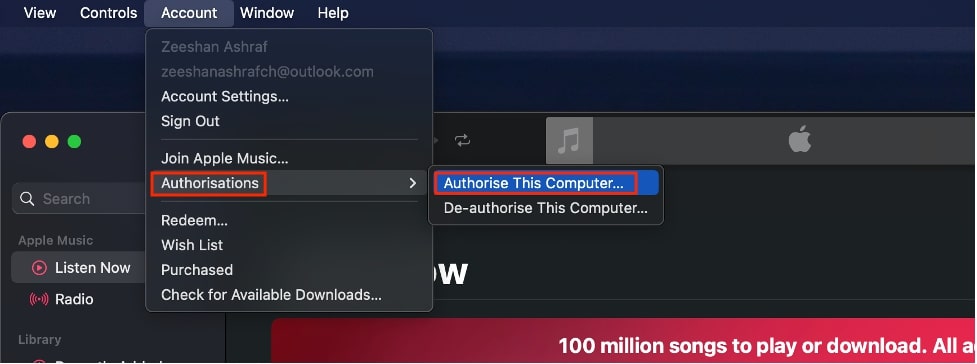
Step 3: Select “Authorizations” And Click On “Authorize This Computer”
From the drop-down menu, click on “Authorizations”. Two options will appear: “Authorize This Computer” and “Deauthorize This Computer”. You have to click on “Authorize This Computer”.
Step 4: Enter Your Apple ID And Password
A new window will open up. Enter your Apple ID and password.
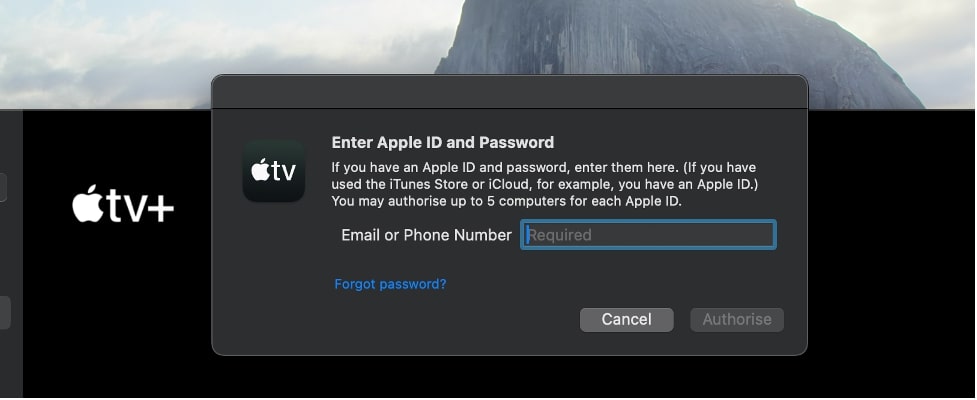
Step 5: Click On “Authorize”
After you are done entering the credentials of your Apple ID. Click “Authorize”.
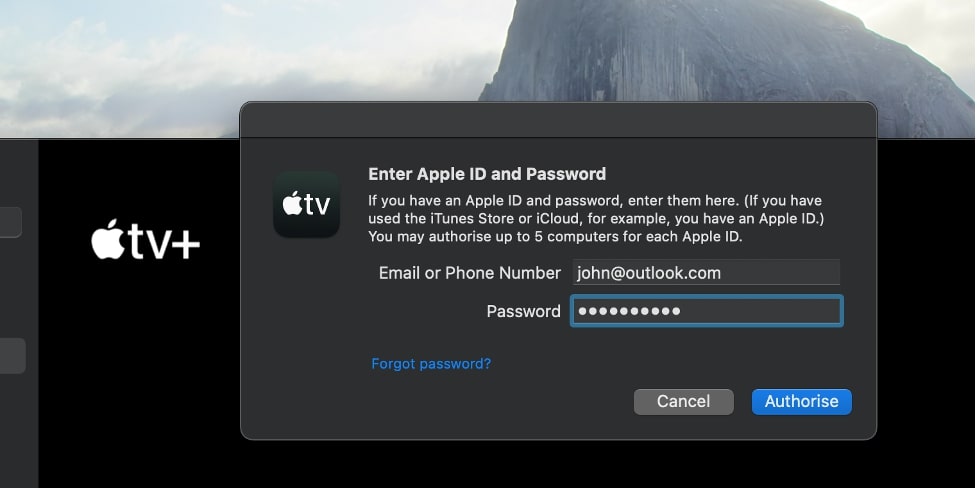
By clicking on “Authorize,” Apple TV will be authorized on your MacBook.
The process to authorize Apple TV on MacBook is relatively straightforward.
Still, there is a reason Apple has designed it this way – to ensure the security of your digital content and protect your personal information.
How To Deauthorize Apple TV on MacBook?
Deauthorizing a MacBook plays an important role whenever you are going to sell your MacBook or lend it to a friend. An authorized MacBook has the authority to make purchases.
Therefore, if someone else has access to your MacBook, they can make any purchase on Apple TV without you knowing.
Deauthorizing a MacBook is simple. Follow the below-mentioned steps.
- Open the “Apple TV” app from Launchpad.
- Click on “Account” from the top menu bar.
- Selected “Authorization” from the drop-down menu.
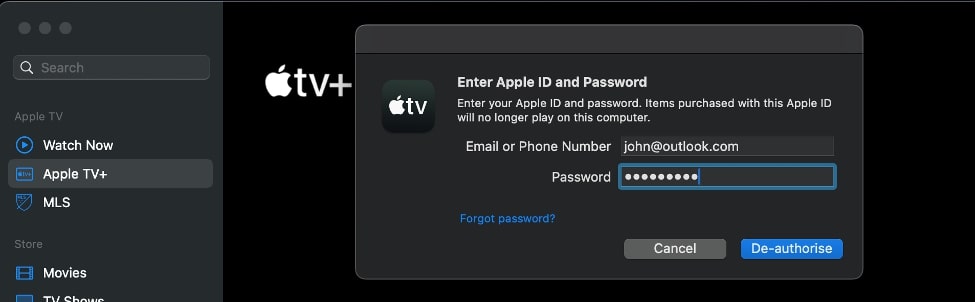
- Click on “De-authorize This Computer”
- A new window will open. Type your Apple ID and Password.
- Click on the “De-authorize” button. Your MacBook will be de-authorized.
How To Authorize/De-authorize MacBook For Apple Music
To enhance the security of Apple users, Apple has implemented the Authorization feature to the music app as well. This ensures that no unauthorized purchases are made. The process is easy. Make sure you follow each step.
Head to the launchpad and search “Apple Music.” Alternatively, you can also find it in the dock. Once you find the Apple Music app, click on it to launch.

Now, in the top toolbar, click on “Account.”
Select “Authorizations” and then click on “Authorize This Computer.”
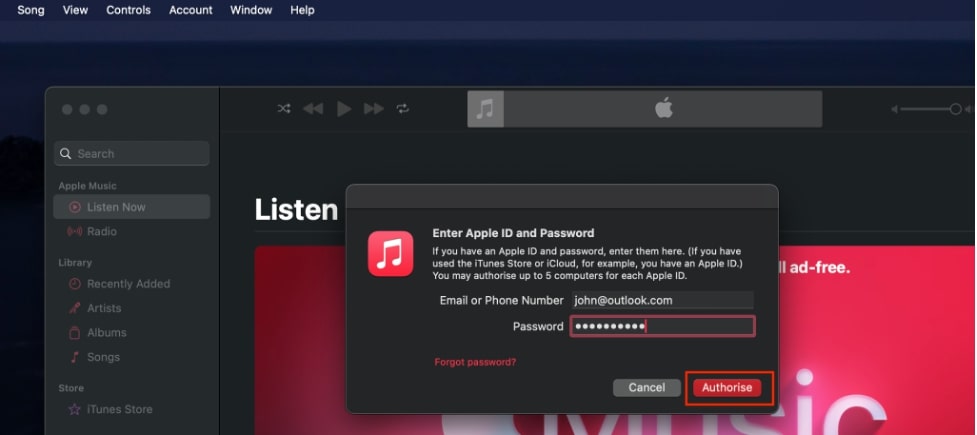
Now, you will be prompted to provide your Apple ID credentials. Enter your email and password and click “Authorize.”
Alternatively, If you want to De-authorize your MacBook from Apple Music, you can do that by going to “Account” from the top ribbon.
Select “Authorizations” from the drop-down menu and click on either “Authorize This Computer” or “Deauthorize This Computer,” depending on what you want to do.
You will be asked to enter your Apple ID e-mail and password. Once you enter your Apple ID and password, click on “De-authorize.”
The process of Authorizing and Deauthorizing is the same for every app.
If you have Apple Books and want to Authorize or De-authorize it, you can follow the same steps used to Authorize/De-authorize Apple TV and Apple Music.
Frequently Asked Questions
How to authorize MacBook for Apple Books?
- Open the “Apple Books” app from Launchpad.
- Click on “Account” from the top ribbon.
- Select “Authorization” from the drop-down menu.
- Click on “Authorize This Computer”.
- Type your Apple ID and Password.
- Click on the “Authorize” button.
Where is the account menu on Apple TV on a Mac?
The account menu of Apple TV is situated at the menu bar of your MacBook.
- Open the Apple TV app. You can usually find it in the Dock of your MacBook and also in the Launchpad.
- Once the Apple Music app is launched, look for the menu bar. It is situated at the top of your MacBook’s screen.
- In the menu bar, you will see multiple options and menus, including “File,” “Edit,” “View,” “Controls,” and “Account.”
- Click on “Account,” and a drop-down menu will appear.
Final Thoughts
Apple’s commitment to user privacy and security is evident through the authorization process, which safeguards customer accounts from unauthorized activities.
For those who value security, deauthorizing a MacBook is just as essential, especially when selling or sharing your device. This prevents unauthorized purchases on Apple TV.
Whether authorizing or deauthorizing your MacBook, ensure that you follow each step accurately. This adds an extra layer of protection against unwanted purchases and unauthorized access.