
In today’s fast-paced world, maximizing productivity is essential, especially for professionals who rely heavily on their MacBook Pro for work. One way to boost productivity is by setting up a dual monitor system with your MacBook Pro. This setup not only provides you with more screen real estate but also enhances multitasking capabilities. In this guide, we’ll walk you through everything you need to know to set up dual monitors with your MacBook Pro effectively.
Understanding Dual Monitor Setup
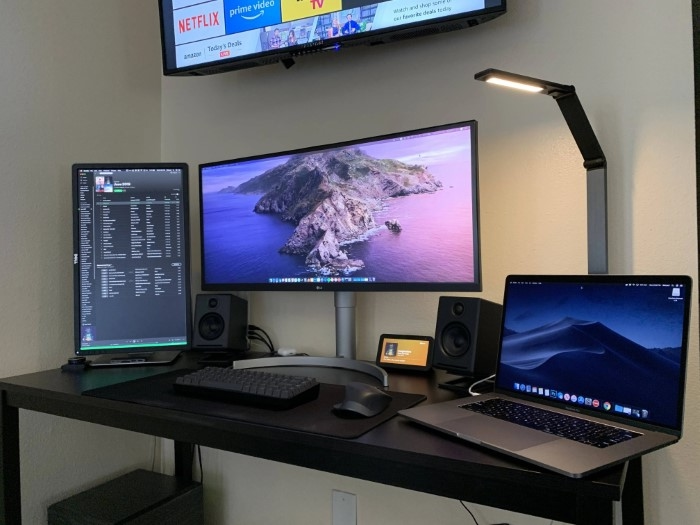
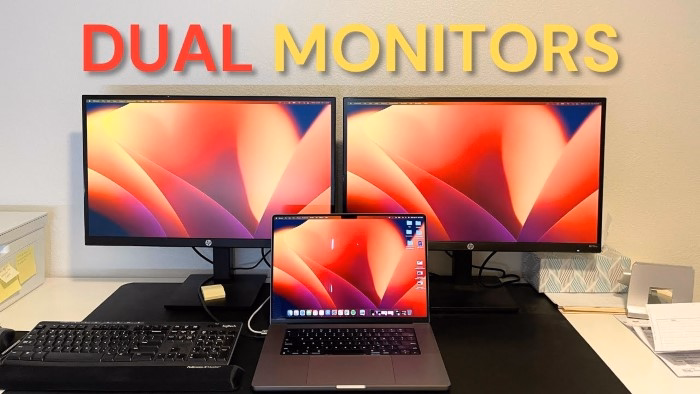
Before diving into the setup process, it’s crucial to understand what a dual monitor setup entails. Essentially, it involves connecting two external monitors to your MacBook Pro, allowing you to extend your desktop across all three screens—your MacBook Pro’s built-in display and the two external monitors. This configuration offers significantly more workspace, enabling you to work on multiple tasks simultaneously without constantly switching between windows.
Choosing the Right Monitors
The first step in setting up a dual monitor system is selecting the right monitors for your setup. Consider factors such as screen size, resolution, connectivity options, and budget. Ideally, you’ll want monitors that match or complement the resolution and aspect ratio of your MacBook Pro’s display for a seamless experience. Additionally, ensure that the monitors support the appropriate connectivity options, such as HDMI or DisplayPort, to connect to your MacBook Pro.
Connecting Your Monitors
Once you’ve chosen your monitors, it’s time to connect them to your MacBook Pro. Depending on the model of your MacBook Pro and the monitors you’ve selected, you may need to use different adapters or cables to establish the connection. Most modern MacBook Pro models feature Thunderbolt 3 ports, which support both video and data transfer, making them ideal for connecting external monitors. Simply connect one end of the cable to your MacBook Pro and the other end to your monitor, and repeat the process for the second monitor.
Configuring Display Settings
After connecting your monitors, you’ll need to configure the display settings on your MacBook Pro to enable the dual monitor setup. To do this, navigate to the “System Preferences” menu, then select “Displays.” Here, you’ll see options to arrange and configure your displays. You can choose the arrangement of your monitors to reflect their physical placement—for example, whether they are positioned side by side or one above the other. You can also adjust the resolution and scaling options to optimize the display output for your specific setup.
Customizing Your Workflow
With your dual monitor setup configured, it’s time to customize your workflow to suit your preferences and maximize productivity. Take advantage of features like Spaces, Mission Control, and Full-Screen Apps to organize your workspace and streamline your workflow. Spaces allows you to create multiple virtual desktops, each with its own set of applications and windows, making it easier to switch between different tasks. Mission Control provides a bird’s eye view of all your open windows and spaces, allowing you to quickly navigate between them. Additionally, many applications support full-screen mode, which can be especially useful when working with multiple monitors.
Dual Monitor Setup Tips and Tricks
Now that your dual monitor setup is optimized for performance, it’s time to explore some productivity tips and tricks to make the most of your expanded workspace.
- Organize Your Workspace: Take advantage of the additional screen real estate to organize your workspace efficiently. Dedicate each monitor to a specific task or application—for example, use one monitor for web browsing and research while using the other for document editing or coding.
- Use Window Management Tools: Consider using window management tools or utilities to streamline the management of your open windows and applications. These tools allow you to snap windows to specific regions of the screen, resize them easily, and switch between different layouts with keyboard shortcuts.
- Create Custom Workspaces: Experiment with creating custom workspaces tailored to different projects or workflows. Save layouts of your open windows and applications using tools like Mission Control or third-party utilities, allowing you to quickly switch between different work environments with a single click.
- Utilize Split-Screen Mode: Many applications and operating systems support split-screen mode, allowing you to divide the screen into multiple sections and display different windows side by side. This feature is especially useful for comparing documents, referencing information while writing, or multitasking with multiple applications.
- Stay Organized with Virtual Desktops: Take advantage of virtual desktops or Spaces to organize your work environment and reduce clutter. Create separate desktops for different projects or tasks, allowing you to switch between them seamlessly without distraction.
- Customize Keyboard Shortcuts: Customize keyboard shortcuts to streamline common tasks and workflows. Assign shortcuts for launching applications, switching between desktops, or snapping windows to specific positions, saving time and reducing reliance on the mouse.
- Invest in Productivity Software: Explore productivity software and tools designed to enhance collaboration, task management, and workflow automation. From project management platforms to note-taking apps and communication tools, there are countless.
Optimizing Performance
To ensure optimal performance with your dual monitor setup, there are a few additional steps you can take. Firstly, make sure your MacBook Pro’s operating system and graphics drivers are up to date. Regularly updating your software ensures compatibility with external monitors and fixes any potential bugs or performance issues.
Additionally, consider investing in a docking station or Thunderbolt 3 hub to simplify connectivity and expand the capabilities of your MacBook Pro. These devices typically offer additional ports, such as USB, Ethernet, and audio, allowing you to connect peripherals and accessories with ease. Some docking stations even support multiple external monitors, further enhancing your productivity.
When using multiple monitors, it’s essential to manage your system resources effectively to prevent performance bottlenecks. Close unnecessary applications and background processes to free up memory and CPU resources. You can also adjust the energy-saving settings on your MacBook Pro to prioritize performance over battery life when connected to external power.
Another consideration is the positioning and ergonomics of your dual monitor setup. Ensure that the monitors are positioned at the correct height and distance to reduce eye strain and promote good posture. Consider investing in monitor arms or stands to adjust the height and angle of the monitors for optimal viewing comfort.