
The Apple Pencil has revolutionized the way we interact with our iPads, offering precision and creativity like never before. Whether you’re a digital artist, student, or professional, the Apple Pencil enhances productivity and unleashes your creativity. In this comprehensive guide, we’ll walk you through the step-by-step process of connecting your Apple Pencil to your iPad, troubleshooting common issues, and exploring the features that make this dynamic duo a must-have for iPad users.
Understanding Your Apple Pencil
Before we dive into the connection process, let’s familiarize ourselves with the Apple Pencil and its key features:
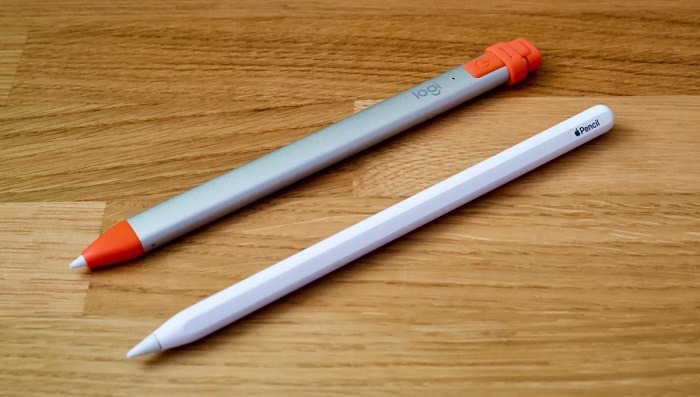
- Compatibility: The Apple Pencil is compatible with various iPad models, including the iPad Pro (all generations), iPad Air (3rd generation and later), iPad (6th generation and later), and iPad mini (5th generation and later). Be sure to check your iPad’s compatibility before purchasing an Apple Pencil.
- Pressure Sensitivity: The Apple Pencil offers precise pressure sensitivity, allowing you to vary line thickness and opacity in supported apps for a more natural drawing and writing experience.
- Tilt Functionality: With tilt functionality, the Apple Pencil can detect the angle at which it’s held, enabling shading and other advanced techniques in supported apps.
- Palm Rejection: The Apple Pencil features palm rejection technology, which allows you to rest your hand on the iPad screen while using the pencil without unintended marks or gestures.
- Battery Life: The Apple Pencil charges via a Lightning connector (1st generation) or magnetic attachment (2nd generation) and offers long battery life for extended use.
Connecting Your Apple Pencil to Your iPad
Now, let’s walk through the process of connecting your Apple Pencil to your iPad:
For Apple Pencil (1st Generation):
- Remove the Cap: If you haven’t already done so, remove the cap from the back of the Apple Pencil to reveal the Lightning connector.
- Insert the Lightning Connector: Plug the Lightning connector into the Lightning port on your iPad. You may need to remove the Lightning port cover or any protective case on your iPad to access the port.
- Pairing Process: Once connected, your iPad should automatically recognize the Apple Pencil and prompt you to pair it. Follow the on-screen instructions to complete the pairing process.
- Confirmation: Once paired, you’ll receive a confirmation message indicating that your Apple Pencil is connected and ready to use.
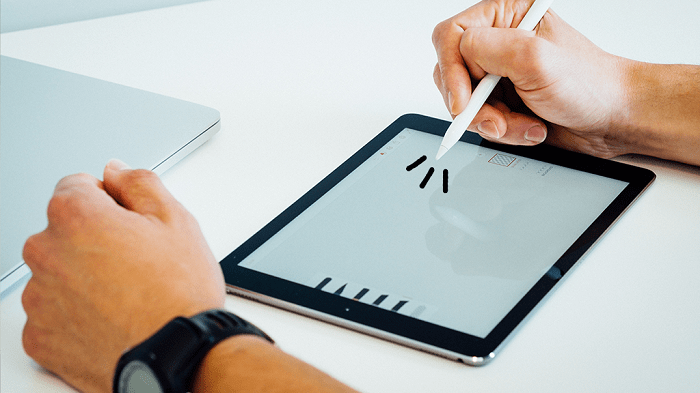
- Test Your Apple Pencil: To ensure that your Apple Pencil is working correctly, open a compatible app (such as Notes or Procreate) and start drawing or writing with the pencil.
For Apple Pencil
- Attach Magnetically: The Apple Pencil (2nd generation) attaches magnetically to the side of your iPad Pro (3rd generation and later) for charging and pairing.
- Check Battery Level: Before using your Apple Pencil, check the battery level by swiping down from the top-right corner of the iPad screen to access Control Center. Look for the battery widget, which displays the battery percentage of your Apple Pencil.
- Pairing Process: There is no traditional pairing process for the Apple Pencil (2nd generation). Simply attach the pencil magnetically to the side of your iPad, and it will automatically pair and begin charging.
- Confirmation: Once attached, you’ll see a charging indicator on the iPad screen, confirming that your Apple Pencil is connected and charging.
- Test Your Apple Pencil: After attaching the Apple Pencil, test it out in a compatible app to ensure that it’s working correctly.
Troubleshooting Common Issues
If you encounter any issues while connecting your Apple Pencil to your iPad, try the following troubleshooting steps:
- Restart Your iPad: Sometimes, a simple restart can resolve connectivity issues. Press and hold the power button until the “slide to power off” slider appears, then swipe to turn off your iPad. After a few moments, press and hold the power button again until the Apple logo appears to restart your iPad.
- Check for Updates: Make sure that your iPad’s operating system is up to date by going to Settings > General > Software Update. If an update is available, follow the on-screen instructions to download and install it.
- Check Apple Pencil Battery: If you’re using the Apple Pencil (1st generation), make sure that it’s charged by connecting it to your iPad’s Lightning port. For the Apple Pencil (2nd generation), ensure that it’s securely attached to the side of your iPad for charging.
- Re-pair Your Apple Pencil: If the issue persists, try unpairing and re-pairing your Apple Pencil. Go to Settings > Bluetooth on your iPad, find the Apple Pencil in the list of devices, and tap the “i” icon next to it. Then, select “Forget This Device” and follow the on-screen instructions to re-pair your Apple Pencil.
- Contact Apple Support: If you’ve tried the above steps and are still experiencing issues, contact Apple Support for further assistance. They can provide personalized troubleshooting and guidance to help resolve any connectivity issues with your Apple Pencil and iPad.
Related Post:
Exploring Payment Options: Does Sonic Drive-In Accept Apple Pay?
Understanding the Dynamics Behind the Price of Apple Stock
Troubleshooting Guide: What to Do When Your Apple Watch Won’t Charge
Connecting your Apple Pencil to your iPad is a straightforward process that unlocks a world of creativity and productivity. Whether you’re sketching, taking notes, or annotating documents, the Apple Pencil enhances your iPad experience and allows you to express yourself with precision and finesse. By following the step-by-step instructions and troubleshooting tips outlined in this guide, you’ll be well on your way to enjoying the full potential of your Apple Pencil and iPad combo. So grab your Apple Pencil, unleash your imagination, and let your creativity soar!