
Scrolling is a fundamental action in navigating digital content, and mastering it can greatly enhance your productivity and user experience on your MacBook Air. Whether you’re browsing the web, reading documents, or navigating through files, knowing how to scroll efficiently is essential. In this comprehensive guide, we’ll explore various scrolling methods and techniques tailored specifically for MacBook Air users.
Understanding Scrolling on MacBook Air
Scrolling Basics
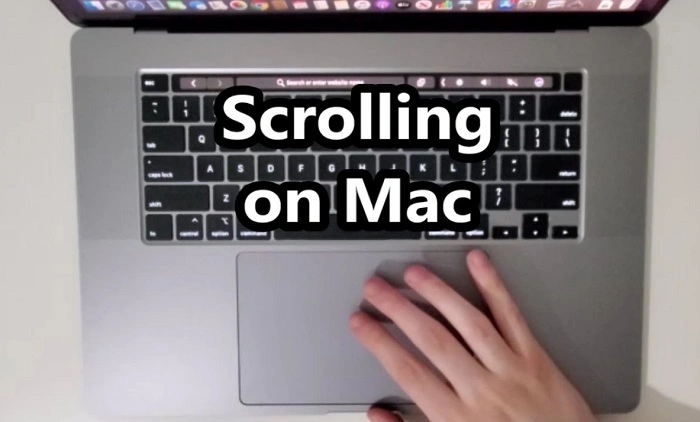
Scrolling on a MacBook Air is primarily done using the trackpad or the mouse. The trackpad is the default input device for MacBook Air, offering a wide range of gestures for navigating and interacting with content.
Trackpad Gestures
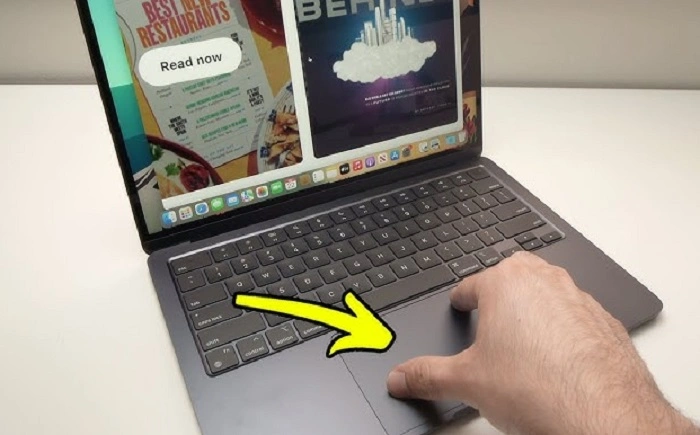
- Single Finger Scrolling: Place one finger on the trackpad and move it up or down to scroll vertically. This gesture mimics the motion of dragging a scrollbar.
- Two-Finger Scrolling: Use two fingers on the trackpad to scroll vertically or horizontally. This gesture provides smoother and more precise scrolling control.
- Three-Finger Scrolling: Swipe three fingers up or down on the trackpad to scroll quickly through documents or web pages. This gesture is especially useful for long-scrolling content.
- Scroll Direction: By default, scrolling on a MacBook Air is set to natural scrolling, where swiping up moves content up and swiping down moves content down. This can be customized in System Preferences under Trackpad settings.
Optimizing Scrolling Settings
Customizing Trackpad Preferences
- Adjusting Scrolling Speed: In System Preferences > Trackpad, you can adjust the scrolling speed to match your preference. Experiment with different settings to find the optimal scrolling speed for your workflow.
- Enabling Tap to Click: Tap to Click allows you to tap the trackpad to perform a click action, eliminating the need for physically pressing the trackpad. This can be enabled in Trackpad settings for a smoother scrolling experience.
- Fine-Tuning Scrolling Behavior: Explore additional trackpad settings such as inertia and momentum scrolling to customize the scrolling behavior according to your liking.
Advanced Scrolling Techniques
Scrolling in Specific Applications
- Web Browsers: In Safari, Chrome, or Firefox, scrolling behaves slightly differently due to browser-specific optimizations. Experiment with different browsers to find the one that offers the best scrolling experience for you.
- Document Editors: When working with documents in applications like Pages or Microsoft Word, use multi-touch gestures to navigate through pages quickly. Three-finger swiping left or right allows you to move between pages effortlessly.
- File Explorers: In Finder, use two-finger scrolling to browse through files and folders. You can also enable List View and use two-finger swiping to scroll horizontally through columns.
Troubleshooting Scrolling Issues
Common Problems and Solutions
- Jumpy Scrolling: If you experience jumpy or erratic scrolling behavior, try cleaning the trackpad surface and adjusting the trackpad settings to improve tracking accuracy.
- Scrolling Lag: Scrolling lag can occur due to high system resource usage or outdated software. Ensure that your MacBook Air’s operating system and applications are up to date to minimize scrolling lag.
- Trackpad Calibration: In some cases, recalibrating the trackpad sensitivity can resolve scrolling issues. This can be done in System Preferences > Trackpad > Point & Click.
Mastering scrolling on your MacBook Air is essential for efficient navigation and productivity. By understanding the various scrolling methods, optimizing trackpad settings, and employing advanced techniques, you can enhance your user experience and streamline your workflow. Experiment with different gestures and settings to find what works best for you, and don’t hesitate to troubleshoot any scrolling issues that may arise. With practice and familiarity, you’ll become a scrolling pro on your MacBook Air in no time!
Advanced Scrolling Techniques Continued
Customizing Scrolling with Accessibility Features
- Scroll Bars: macOS offers different options for scroll bars, including “Automatically based on mouse or trackpad” and “When scrolling.” You can customize these settings in System Preferences > General. Experiment with these options to find the scroll bar style that suits your preference.
- Zooming: macOS includes a built-in Zoom feature that allows you to magnify the screen, making it easier to see content. You can enable Zoom in System Preferences > Accessibility > Zoom. Once enabled, you can use specific gestures or keyboard shortcuts to zoom in and out, enhancing the readability of small text or fine details.
- Voice Control: For users with mobility or dexterity challenges, macOS offers Voice Control, a powerful accessibility feature that allows you to control your Mac using voice commands. While scrolling may be performed differently with Voice Control, it provides an alternative method for navigating and interacting with content for those who may find traditional input methods challenging.
Optimizing Scrolling for Productivity
Using Third-Party Apps
- BetterTouchTool: BetterTouchTool is a third-party application that allows you to customize gestures and shortcuts for your trackpad, mouse, and keyboard. With BetterTouchTool, you can create custom scrolling gestures, assign actions to specific trackpad movements, and enhance your scrolling experience beyond what is offered by default in macOS.
- Scroll Reverser: If you prefer different scrolling behaviors for your trackpad and mouse, Scroll Reverser is a handy tool that allows you to customize scroll direction independently for each input device. This can be useful if you switch between using a trackpad and a mouse frequently and prefer consistent scrolling behavior across devices.
Exploring Scroll-Heavy Workflows
Scrolling in Creative Applications
- Photo Editing: When editing photos in applications like Adobe Photoshop or Affinity Photo, scrolling is often used to navigate through large canvases or zoomed-in images. Familiarize yourself with scrolling shortcuts and gestures specific to these applications to streamline your editing workflow.
- Video Editing: In video editing software such as Final Cut Pro or Adobe Premiere Pro, scrolling is essential for navigating through timelines and adjusting clip positions. Mastering scrolling techniques can help you scrub through footage quickly and precisely, improving your efficiency when editing videos.
Staying Up-to-Date with Scrolling Innovations
macOS Updates and Scrolling Enhancements
- macOS Monterey Features: With each new macOS release, Apple introduces updates and enhancements to scrolling and trackpad functionality. Stay informed about the latest features in macOS Monterey and how they can improve your scrolling experience on MacBook Air.
- Feedback and Suggestions: Apple welcomes feedback from users regarding macOS features, including scrolling behavior. If you encounter issues or have suggestions for improving scrolling on MacBook Air, consider providing feedback through the Feedback Assistant app or Apple’s online feedback channels. Your input can help shape future macOS updates and enhancements.
Mastering scrolling on your MacBook Air is an ongoing process that involves understanding the available gestures, customizing settings to suit your preferences, and exploring advanced techniques for different applications and workflows. By leveraging built-in macOS features, third-party apps, and staying informed about the latest updates and innovations, you can optimize your scrolling experience and maximize your productivity on your MacBook Air. Whether you’re navigating through web pages, editing documents, or working on creative projects, efficient scrolling is key to enhancing your user experience and workflow efficiency. Keep practicing, exploring, and adapting to new features and techniques, and you’ll become a scrolling expert in no time!