
In today’s digital age, visual communication reigns supreme. Whether you’re capturing a funny moment in a chat, documenting an important piece of information, or simply sharing a beautiful scene from your screen, knowing how to take a screenshot is an essential skill. If you’re the proud owner of a MacBook Air, you’re in luck. Apple’s sleek and powerful laptop comes equipped with a range of screenshot tools that make capturing and sharing your screen a breeze.
Understanding the Basics
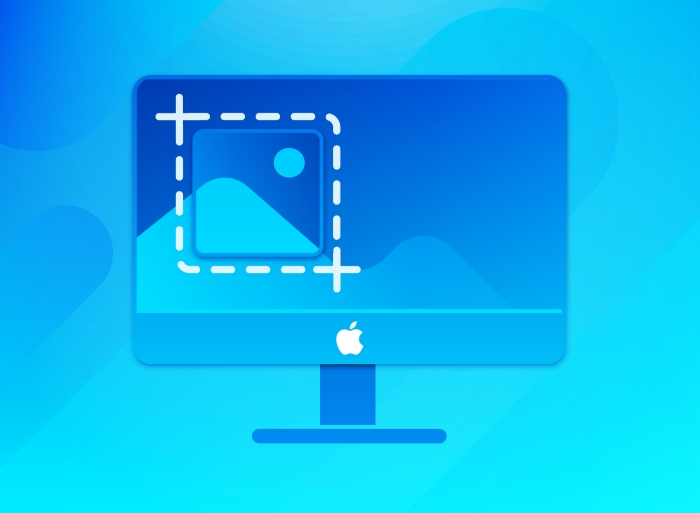
Before diving into the various screenshot options available on your MacBook Air, let’s cover the basics. A screenshot is simply a digital image of whatever is displayed on your screen at a given moment. On a MacBook Air, there are several ways to capture a screenshot:
- Capture the entire screen: Press Command (⌘) + Shift + 3 simultaneously.
- Capture a specific portion of the screen: Press Command (⌘) + Shift + 4, then click and drag to select the area you want to capture.
- Capture a specific window: Press Command (⌘) + Shift + 4, then press the Spacebar. Your cursor will turn into a camera icon, allowing you to click on the window you want to capture.
Taking Your Screenshots to the Next Level

While the basic screenshot options are handy for most situations, there are times when you might need a bit more flexibility or functionality. Here are some advanced tips and tricks to help you make the most of your MacBook Air’s screenshot capabilities:
Annotate Your Screenshots
After capturing a screenshot, you can easily annotate it with text, shapes, arrows, and more using the built-in Markup tool. Simply double-click on the screenshot file on your desktop or in the Preview app, then click the Markup icon (it looks like a pen tip) to access a variety of annotation tools.
Customize Your Screenshot Settings
Did you know that you can customize the default settings for screenshot capture on your MacBook Air? Open the Terminal app (you can find it in the Utilities folder within the Applications folder) and enter the following command:
Replace [option] with the setting you want to change (e.g., file format, save location) and [value] with your desired preference. Once you’ve entered your desired settings, restart your MacBook Air for the changes to take effect.
Use Third-Party Apps for Added Functionality
While the built-in screenshot tools on your MacBook Air are powerful, there are also several third-party apps available that offer even more features and customization options. Some popular options include Snagit, Skitch, and Lightshot. Explore these apps to find the one that best suits your needs.
Mastering the art of screenshots on your MacBook Air is not only practical but also empowering. Whether you’re a student, a professional, or just someone who loves to share interesting finds from the web, knowing how to capture and share screenshots effectively can save you time and enhance your communication. With the tips and tricks outlined above, you’ll be well on your way to becoming a screenshot pro in no time. So go ahead, unleash the power of your MacBook Air and start capturing those unforgettable moments with confidence!
Let’s Delve Deeper Into The Topic Of Screenshots On Macbook Airs
Leveraging Keyboard Shortcuts for Efficiency
Keyboard shortcuts are the secret sauce for streamlining your workflow and boosting productivity. Mastering them can significantly speed up your screenshot-taking process. Here are some additional keyboard shortcuts to complement your MacBook Air’s screenshot arsenal:
- Toggle between Capture Modes: While in the middle of a screenshot, you can switch between capture modes without canceling the process. Press and hold the Shift key to change from capturing the entire screen to capturing a specific portion, and vice versa.
- Instantly Copy to Clipboard: Want to paste your screenshot directly into an email, document, or chat? After capturing the screen, press Control (⌃) + Command (⌘) + Shift + 3 to copy it to the clipboard without saving it as a file. You can then paste it wherever you need it.
- Capture Touch Bar: If you have a MacBook Air model equipped with a Touch Bar, you can capture its contents with a simple keyboard shortcut. Press Command (⌘) + Shift + 6 to take a screenshot of the Touch Bar and save it as a file.
Harnessing macOS Continuity Features
Apple’s Continuity features allow for seamless integration between your MacBook Air and other Apple devices, such as iPhones and iPads. You can leverage these features to enhance your screenshot workflow in several ways:
- Capture Screenshots with iPhone or iPad: If you’re browsing on your iPhone or iPad and come across something you want to capture, you can use Continuity to take a screenshot directly on your MacBook Air. Simply ensure that both devices are signed in to the same iCloud account, and the Handoff feature is enabled. When you take a screenshot on your iOS device, a thumbnail will appear in the bottom-left corner of your MacBook Air’s screen. Clicking on it will open the screenshot in Preview, allowing you to annotate or save it.
- Instantly Share Screenshots with AirDrop: AirDrop makes it easy to share files between your MacBook Air and other Apple devices nearby. After capturing a screenshot, you can quickly share it with your iPhone, iPad, or another Mac using AirDrop. Simply click on the screenshot file on your desktop, select “Share” from the toolbar, and choose the desired device from the AirDrop menu.
Integrating Screenshots into Your Workflow
Screenshots are more than just static images—they’re valuable tools for communication, collaboration, and problem-solving. Here are some creative ways to incorporate screenshots into your daily workflow:
- Enhance Presentations and Reports: Spruce up your presentations and reports by including relevant screenshots to illustrate key points or provide visual context. Whether you’re giving a business pitch or writing a research paper, screenshots can help make your content more engaging and informative.
- Provide Visual Feedback: When collaborating with colleagues or clients, screenshots can be invaluable for providing visual feedback on designs, websites, or documents. Use annotation tools to highlight specific areas, add comments, or suggest revisions directly on the screenshot.
- Troubleshoot Technical Issues: If you encounter a technical issue or error message, taking a screenshot can help you document the problem and seek assistance more effectively. Capture the error message along with any relevant details, such as the software version or browser you’re using, to provide context for troubleshooting.
Screenshots are a versatile and powerful tool in your MacBook Air’s toolkit, enabling you to capture, annotate, and share visual information with ease. By mastering the various screenshot methods, keyboard shortcuts, and integration features available on macOS, you can streamline your workflow, enhance collaboration, and communicate more effectively in both personal and professional settings. So whether you’re documenting a project, troubleshooting a problem, or simply sharing a funny meme with friends, don’t underestimate the power of a well-crafted screenshot. With a few clicks or keystrokes, you can capture the moment and unleash your creativity on your MacBook Air.