
In today’s digital age, the ability to capture what’s happening on your screen is invaluable. Whether you’re creating tutorials, recording gameplay, or preserving memorable moments, screen recording has become an essential skill. Fortunately, if you’re a MacBook Air user, you have a powerful tool at your fingertips for this purpose. In this comprehensive guide, we’ll explore everything you need to know about screen recording on your MacBook Air, from basic techniques to advanced tips and tricks.
Understanding Screen Recording
Screen recording is the process of capturing everything that appears on your computer’s display, including video playback, app usage, and system interactions. This functionality is particularly useful for creating instructional videos, troubleshooting demonstrations, and sharing presentations. With the built-in screen recording feature on MacBook Air, you can easily create high-quality recordings without the need for third-party software.
Getting Started
Before you begin screen recording on your MacBook Air, it’s essential to familiarize yourself with the necessary steps and settings.
Accessing the Screen Recording Tool
To access the screen recording tool on your MacBook Air, follow these simple steps:
- Open Control Center: Click on the Control Center icon located in the menu bar at the top right corner of your screen.
- Enable Screen Recording: In the Control Center, locate the Screen Recording icon, which looks like a circle surrounded by a dotted square. Click on it to start recording.
Configuring Recording Options
Once you’ve enabled screen recording, you can configure various options to customize your recording experience:
- Select Audio Source: Before you start recording, decide whether you want to capture audio from your computer’s internal microphone, an external microphone, or no audio at all.
- Adjust Recording Quality: You can choose between high, medium, or low-quality settings depending on your preferences and the intended use of the recording.
- Set Timer (Optional): If you need to prepare your screen before recording starts, you can set a timer to delay the recording initiation.
Initiating the Recording
After configuring your recording options, it’s time to start capturing your screen:
- Click Record: Once you’re ready to begin recording, click on the Record button in the screen recording control center.
- Start Screen Activities: Perform the actions you want to capture on your screen while the recording is in progress.
- Stop Recording: To stop the recording, click on the Stop button in the menu bar or press the “Command + Control + Esc” shortcut on your keyboard.
Advanced Techniques
Now that you’re familiar with the basics of screen recording on your MacBook Air, let’s explore some advanced techniques to enhance your recording capabilities.
Recording Specific Areas of the Screen
Instead of capturing the entire screen, you can focus on specific areas by adjusting the recording frame:
- Customize Recording Frame: Press and hold the Record button in the control center to reveal options for selecting a specific portion of the screen.
- Resize and Position: Drag the corners of the recording frame to resize it and move it to the desired location on your screen.
- Start Recording: Once you’ve configured the recording frame, proceed with the recording as usual.
- Adding Annotations and Markups
To make your screen recordings more informative and engaging, you can annotate them with text, shapes, and drawings:
- Open Markup Tools: After stopping the recording, double-click on the video file to open it in the QuickTime Player.
- Access Markup Tools: Click on the Markup button in the QuickTime Player toolbar to access a variety of annotation tools.
- Annotate Recording: Use the annotation tools to add text, shapes, arrows, and other elements to your recording.
- Save Changes: Once you’ve finished annotating the recording, save the changes to preserve the annotations.
- Utilizing Keyboard Shortcuts
To streamline the screen recording process, familiarize yourself with the following keyboard shortcuts:
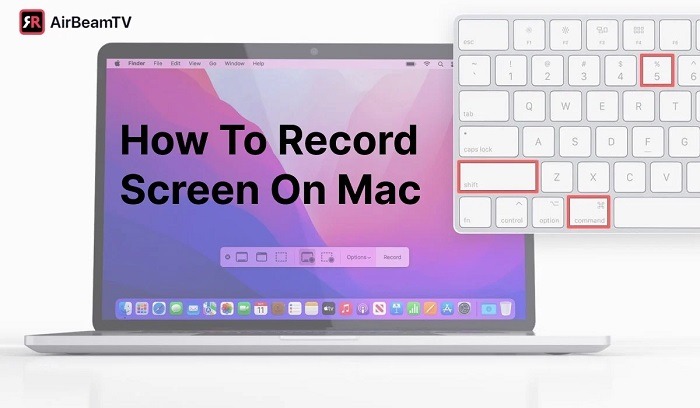
- Command + Shift + 5: Opens the screen recording control center.
- Command + Control + Esc: Stops the recording.
- Option + Click on Record Button: Opens additional options for recording specific areas or the entire screen.
Screen recording on MacBook Air offers a convenient and versatile solution for capturing on-screen activities. By mastering the techniques outlined in this guide, you can create professional-quality recordings for various purposes, from educational tutorials to entertaining gameplay sessions. Experiment with different settings and features to discover the full potential of screen recording on your MacBook Air. With practice and creativity, you’ll be able to capture and share your screen with confidence and flair.
Editing and Enhancing Recordings
Once you’ve completed your screen recording, you may want to edit and enhance it to improve its quality or convey your message more effectively. While the built-in screen recording tool on MacBook Air provides basic recording capabilities, you can use third-party video editing software for more advanced editing features.
Basic Editing with QuickTime Player
QuickTime Player, the default video player on macOS, offers basic editing capabilities that allow you to trim, split, and rearrange your screen recordings:
- Trimming: To remove unwanted sections from your recording, open the video file in QuickTime Player, then click on the Edit menu and select Trim. Drag the yellow handles on the timeline to select the desired portion of the recording, then click Trim to remove the selected segments.
- Splitting: If you need to divide your recording into multiple segments, use the Split tool in QuickTime Player. Position the playhead at the desired splitting point, then click Edit > Split. You can then move or delete the split segments as needed.
- Rearranging: QuickTime Player allows you to rearrange segments within your recording by dragging them to different positions on the timeline. This feature is useful for organizing your content or adjusting the sequence of events.
While QuickTime Player provides basic editing functionality, you may need more advanced features such as adding transitions, applying effects, or incorporating overlays. In such cases, consider using professional video editing software like Final Cut Pro or Adobe Premiere Pro.
Exporting and Sharing Recordings
Once you’ve edited and finalized your screen recording, you’ll need to export it in a compatible format for sharing or further distribution. macOS offers several export options, depending on your preferences and intended use:
- File Formats: Choose an appropriate file format for your screen recording, such as MP4, MOV, or M4V. These formats are widely supported and compatible with most devices and platforms.
- Resolution and Quality: Adjust the resolution and quality settings based on your requirements and the desired balance between file size and video quality. Higher resolutions and bitrates result in better quality but larger file sizes.
- Compression: If you need to reduce the file size for easier sharing or storage, consider compressing the video using a codec like H.264. This codec maintains high-quality video while significantly reducing file size.
- Sharing Options: macOS provides various sharing options for distributing your screen recordings, including email, Messages, AirDrop, and cloud storage services like iCloud Drive or Google Drive. Choose the method that best suits your needs and preferences.
Before sharing your screen recording, make sure to review it carefully to ensure accuracy, clarity, and relevance. Consider adding descriptive titles, captions, or annotations to provide context and enhance understanding for your audience.
Best Practices for Screen Recording
To achieve optimal results when screen recording on MacBook Air, consider the following best practices:
- Plan Ahead: Before starting your recording, plan the content and structure of your presentation or demonstration. This will help you stay organized and focused during the recording process.
- Optimize Settings: Experiment with different recording settings, such as resolution, frame rate, and audio quality, to find the optimal configuration for your needs.
- Minimize Distractions: Eliminate background noise and distractions to ensure a clear and professional-quality recording. Consider using a microphone or headset for better audio clarity.
- Practice: Familiarize yourself with the screen recording tool and practice recording different types of content to improve your skills and efficiency.
- Engage Your Audience: Keep your audience engaged by speaking clearly, using visual aids, and maintaining a lively pace throughout the recording. Encourage interaction and feedback to enhance the viewer experience.
By following these best practices, you can create compelling and engaging screen recordings that effectively convey your message and capture the attention of your audience.
Related Post:
Mastering Security: The Ultimate Guide on How to Lock Your MacBook
Unlocking Your Mac: A Step-by-Step Guide to Resetting Your Password
Unleash the Power: The Ultimate Guide to Apple MacBook Pro Chargers
Screen recording on MacBook Air is a powerful tool for capturing on-screen activities and sharing information with others. Whether you’re creating tutorials, recording presentations, or documenting software workflows, screen recording offers endless possibilities for communication and collaboration. By mastering the techniques and best practices outlined in this guide, you can create professional-quality recordings that inform, educate, and inspire. Experiment with different settings, editing tools, and sharing options to unlock the full potential of screen recording on your MacBook Air. With creativity, practice, and attention to detail, you can produce captivating screen recordings that leave a lasting impression on your audience.